Thursday, April 24, 2014

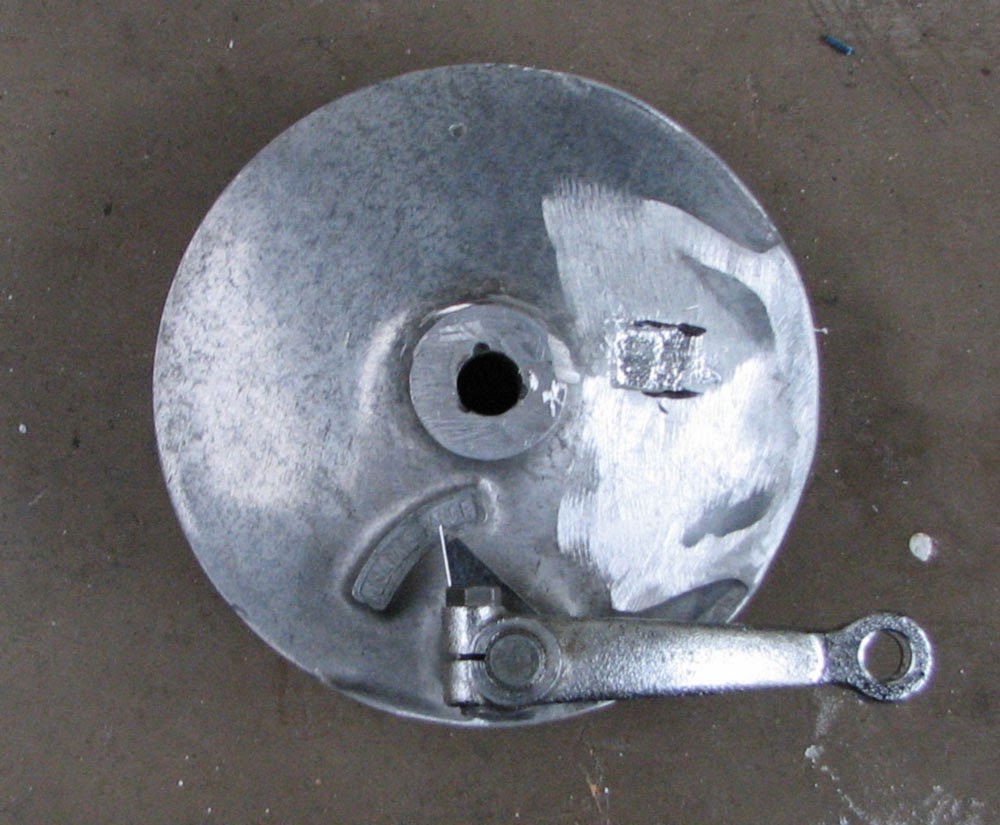
XL500 vs KZ650 rear wheel to front conversion - brake plate modifications


The lower image shows the stock KZ650 rear brake plate. The torque arm mounting needs to be completely removed as the XL500 uses a groove arrangement. I cut a couple of aluminium pieces will be welded to the brake plate and will slot into the fork leg locator.

Sunday, April 6, 2014

Honda XL500S with 16 inch wheels - but what colour?


Like the yellow........

Tuesday, April 1, 2014

XL500S stance and head light and gauge mounting


The headlight mounting ears or brackets arrived this morning, so I took the opportunity to try out the head light, gauges and indicator mounting. Also put the seat and tank back on to check the stance! Everything seems to work very well. Am actually seriously considering removing the rest of the paint from the tank and just leaving the tank stickers only.

XL500S rewire successful


After making only one rookie mistake with the wiring seems to be ok. We have headlight, tail light and stop lights. Only problem now is the bike will not start due to no spark! Thanks to David for diagnosing the wiring fault - had the earth of the battery on the wrong wire!

Saturday, March 15, 2014

XL500S aftermarket gauges and headlight


Rather than fabricate a bracket to mount the aftermarket gauge cluster, I just mounted it straight to the headlight bucket, as most of the wiring will be hidden inside the headlight bucket anyway! Wired up the new H4 headlight connector ready to recieve the 6V 35W globe.

Wednesday, March 12, 2014

Head light repair


I got given this head light from the guys at 66 motorcycles, but it was a little worse for wear. The lamp mounts were broken, so I remounted it with three screws and large washers. The chrome rim has a case of road rash, so I painted it satin black. Also purchased a new H4 bulb socket and put bullet connectors on the wires, and have ordered some headlight mounting brackets as these are also missing.

Thursday, March 6, 2014

More electrical parts arrive & rewire continues XL500S

This week a brand new flasher relay and ignition switch arrived, these are direct a replacement of the originals so no wiring mods are necessary. We have decided to use the aftermarket gauge cluster from the DR400 project for the XL500S, so I have started the rewire by changing one of the multipin connectors. The colour coding is 90% the same as the original, so that helps a lot. I think we are about 60% done with the rewire. Also worth noting is the XL500S has 6 volt electrics and the gauge is 12 volts, so will need to purchase a step-up converter to run the gauge cluster, this will work for up to 1 amp of power draw. According to the gauge specs power draw is no more than 200mA.