Monday, June 2, 2014

Triple clamp swap from CB750 to XL500S part III

Bolted the fork legs into the triple clamps........
.......with my freshly modified front axle.......
......so now even the front wheel fits, just need an axle nut and spacer and etc etc .........

and finished it off with new bars and vintage style grips.


Sunday, June 1, 2014

Triple clamp swap from CB750 to XL500S part II

Rather than replace the worn out steering head bearings with new loose ball bearings as per the factory, I decided to go spend the extra cash and go with tapered roller bearings. What this image also shows is the area below the washer below and the bearing is now 'space' where I removed 'material' from the triple clamp. This is because the CB750 clamp is slighly thicker here and does not allow the stem to protrude through the upper bearing far enough to allow the lock nut to screw on (confused - read on?). I then pushed the bearing all the way to the bottom of the stem!
This image shows the lock nut in place and tightened up! And now everything works properly, including the steering stops which are in the same place.
And now the top triple clamp goes in place with its lock nut....Job done.....Now just have to make the wheel fit the forks!


Monday, May 5, 2014

Triple clamp swap from CB750 to XL500S

The reason I am installing CB750 triple clamps on my XL500S is to allow installation of a wider front wheel (wider rim & hub). The fork tubes are 20mm further apart to allow for this, but still accept the original 35mm fork tubes as they are common to both bikes. The CB750 stem needs to be removed as it is too long for the XL500S steering head. The CB750 stem is welded into the lower clamp and is also an interference fit. The above pics shows that the weld has been removed and the stem is starting to come out.
This pic shows the correct size socket being used as a drift in order to knock out the old stem. This requires a large hammer and a little patience. It eventually comes out!
This pic shows the old stem, spacer and lower bearing seal as they have come apart.
I have a spare stem which I have removed from an XL250S. This stem is clamped and glued in place, a large hammer and some patience is required for removal.
This pic shows the XL stem in the CB triple clamp. It is quite a loose fit, so some shims need to be installed to take up the slack, the stem is 27mm diameter and the hole in the clamp is about 29.5mm.
Lastly the stem needs to be fully welded to the lower clamp, as this pic shows. Once the lower bearing race and seal are reinstalled you are ready for reassembly.


Thursday, April 24, 2014

XL500 vs KZ650 rear wheel to front conversion - brake plate modifications


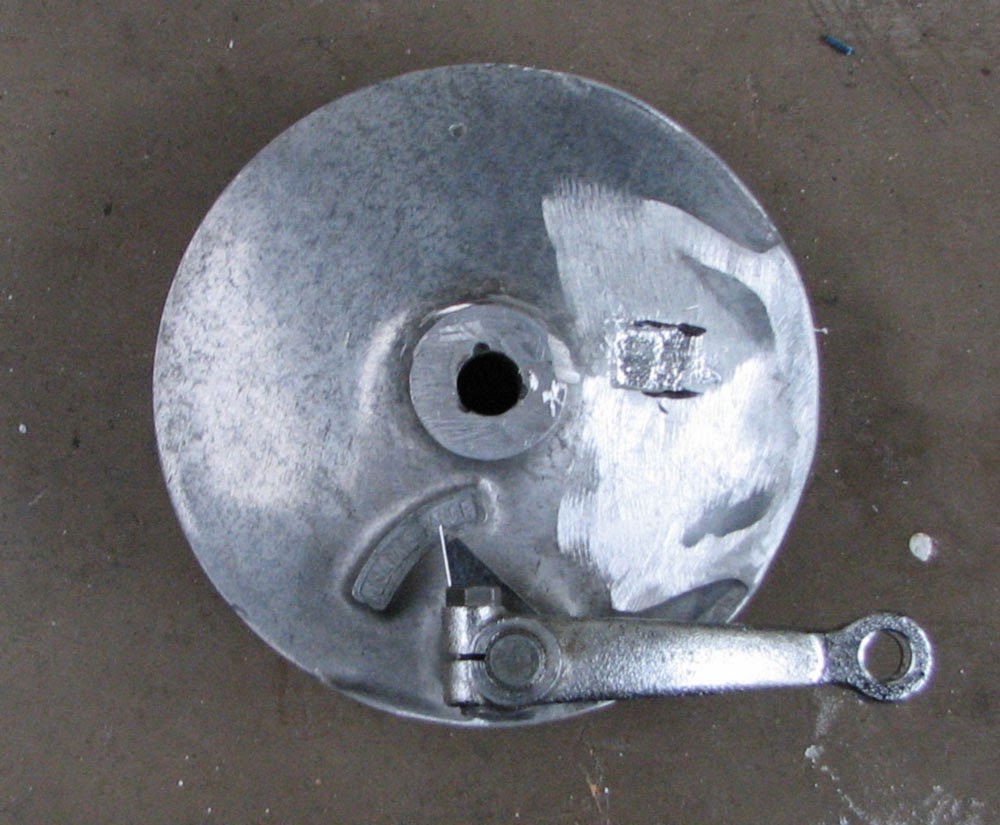
The lower image shows the stock KZ650 rear brake plate. The torque arm mounting needs to be completely removed as the XL500 uses a groove arrangement. I cut a couple of aluminium pieces will be welded to the brake plate and will slot into the fork leg locator.

Tuesday, April 1, 2014

XL500S stance and head light and gauge mounting


The headlight mounting ears or brackets arrived this morning, so I took the opportunity to try out the head light, gauges and indicator mounting. Also put the seat and tank back on to check the stance! Everything seems to work very well. Am actually seriously considering removing the rest of the paint from the tank and just leaving the tank stickers only.

XL500S rewire successful


After making only one rookie mistake with the wiring seems to be ok. We have headlight, tail light and stop lights. Only problem now is the bike will not start due to no spark! Thanks to David for diagnosing the wiring fault - had the earth of the battery on the wrong wire!